Hi, today I want to talk to you about the Azure public IP prefix. This functionality allows us to have a range of continuous public IPs and thereby simplify the administration of our public endpoints in Azure. Therefore, in this post, I will show you how to create a public IP prefix using PowerShell and the Azure CLI.
Constraints at the time of publication of this article:
- You can create a prefix of up to 16 IP addresses or a /28
- You cannot change the range, once created.
- Only static public IP addresses created with the Standard SKU can be assigned from the prefix's range.
Prerequisites
- This tutorial assumes that you already have a Microsoft Azure account configured.
- You created a Resource Group for these resources and the new ones deployed in this tutorial will join that group. If you want to know how to create a Resource Group, check out this link.
Azure PowerShell Workaround
If you want to know how to install the PowerShell Azure module on your machine, check out this link.
The simplest way to get started is to sign in interactively at the command line.
This cmdlet will bring up a dialog box prompting you for your email address and password associated with your Azure account.
If you have more than one subscription associated with your mail account, you can choose the default subscription. To perform this task, we will use the following commands:
Once you set your default subscription, you're ready to start.
Set the variables
Here, we define the characteristics of our environment and the resource's properties.
Create a public IP address prefix
To create a public IP address prefix, you should use the New-AzPublicIpPrefix cmdlet with the following syntax.

Create a public IP using Azure public prefix
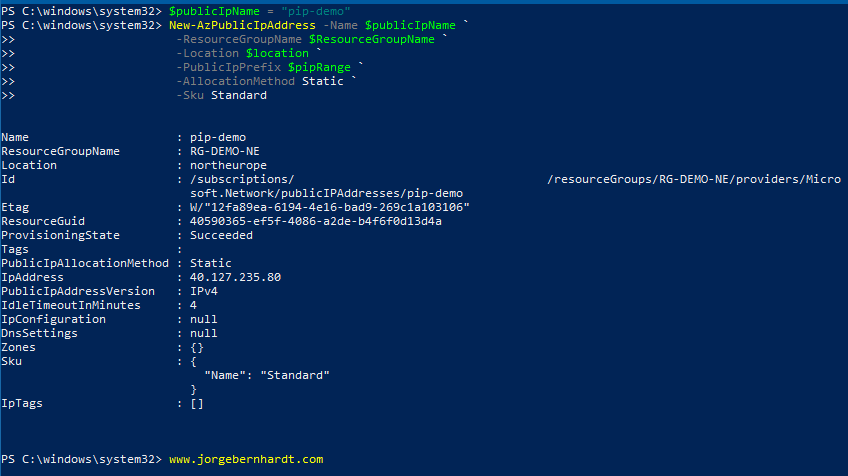
To create a public IP within the range created in the previous step, you should use the New-AzPublicIpAddress cmdlet with the following syntax.

As you can see in the following screenshot, we are now using an IP of the 16 reserved IPs in the range.

Remove a used public IP from the range
To remove a used public IP from its range, you must use the Remove-AzPublicIpAddress cmdlet with the following syntax. Remember that this IP should not be associated with any existing resource.
Remove an Azure public IP prefix
If you want to remove a public IP prefix, use the Remove-AzPublicIpPrefix cmdlet with the following syntax. Remember that all IPs in the range should not be associated with azure resources.
Azure CLI Workaround
In this case, we will use Azure Cloud Shell, a browser-based shell built into Azure Portal. This allows us to use the Azure command-line tools (Azure CLI and Azure PowerShell) directly from a browser. If you want to know more about Azure Cloud Shell, check out this link.
First, declare the variables of the resource group and define the name of the public IP prefix that will be created in the next step.
Create a public IP address prefix
To create a public IP address prefix, you should use the following command.

Create a public IP from Azure public prefix
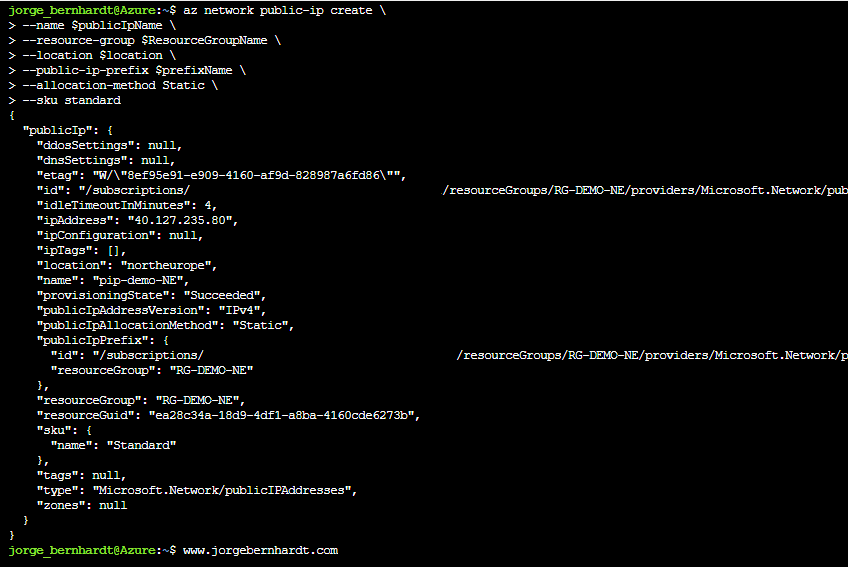
To create a public IP within the range created in the previous step, you should use the following command.

Remove a used public IP from the range
To remove a used public IP from its range, you must use the following syntax. Remember that this IP should not be associated with any existing resource.
Remove an Azure public IP prefix
If you want to remove a public IP prefix, use the following command. Remember that all IPs in the range should not be associated with azure resources.
Thanks for reading my post. I hope you find it useful.
If you want to know more about Azure Public IP address prefix, check out this link: https://docs.microsoft.com/en-us/azure/virtual-network/public-ip-address-prefix


