I have been playing with GitHub Actions for several days, testing different scenarios that I have been able to find in other automation tools, such as Azure DevOps or Jenkins. In this article I want to tell you about the minimum you should know to start managing your continuous integration and deployment tasks with this platform.
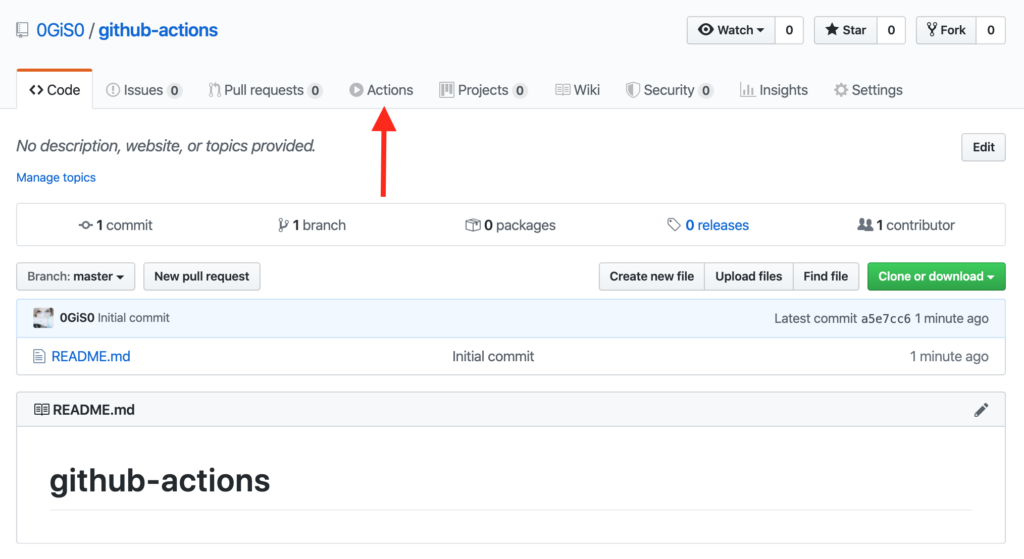
New Actions section on GitHub
It is possible that if you already worked with GitHub you have noticed that, for a while, you have a new section called Actions.

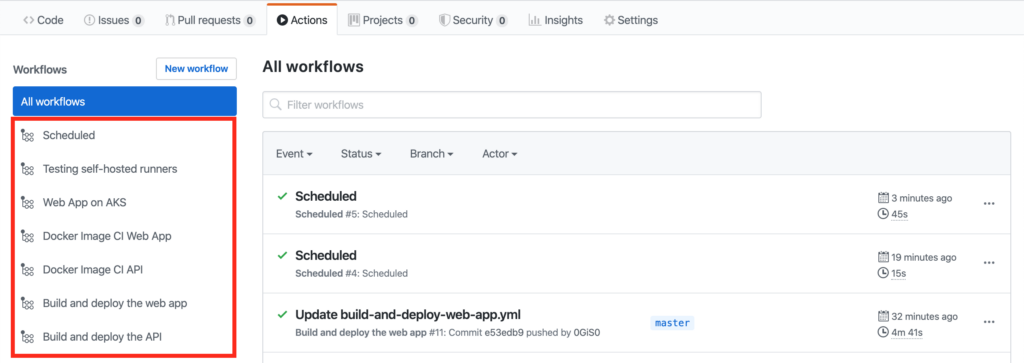
In it you will see that there are different templates for different programming languages called workflows,which give you a starting point for the integration or continuous deployment of your applications. You can explore the ones with which you feel most comfortable with, in terms of technology, but I want to show you something more elaborate at a glance
Structure of a workflow
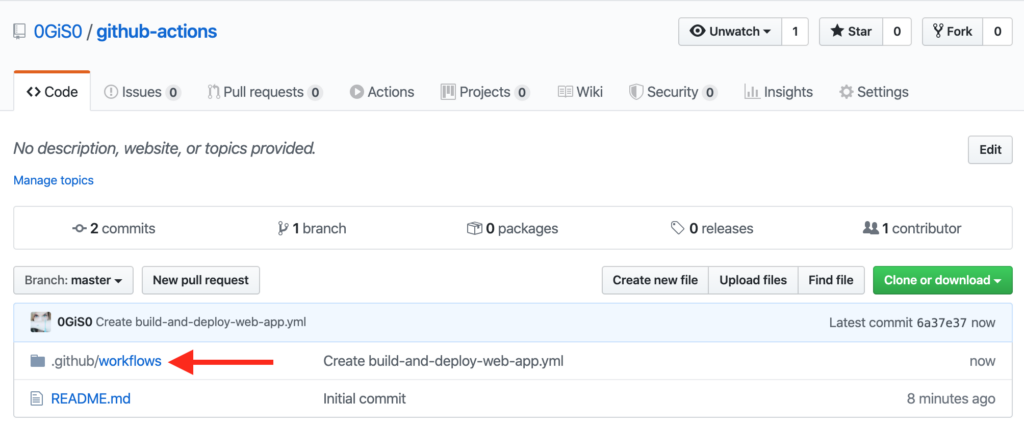
If you have clicked on any of the templates proposed in the Actions section, you will see that GitHub bases its flows on files in YAML . When you save any of these templates they are stored in. github / workflows.

In order to better explain the structure,you should use, I am going to show you this example, which compiles and deploys an example application with .NET Core (and Blazor). It comes from the Blazor: Getting Started by Gill Cleeren course, in Azure App Service:
As you can see in the previous code, a workflow has 4 fundamental parts: a name, an event / s that triggers it, the declaration of environment variables (optional) and the jobs that will be executed. Let's see each section separately:
name
This is the name of the workflow, in order to be able to differentiate it from other flows that you have in the same repository.
As the list grows, it is very useful to have an identifying name for each one.

This property is essential as it will be used to indicate what this flow will launch on.
As you can see, it can be executed thanks to the push event, amongst many others that I will tell you about, on specific branches, and it can even depend on the changes that have occurred in the specified routes through paths. In this example, the flow will only be launched for the master branch, but only when a change has occurred either in the workflow file itself or in any of the files within the BethanysPieShopHRM.server directory.
This section is not mandatory but it is very useful for declaring environment variables, which will be available globally for the duration of the flow, even between different agents.
As its name suggests, this section will define the different jobs that make up the flow. Each of them will have a name, runs-on identifies the type of runner (agent) you need to execute the tasks and a series of steps (steps) that will be carried out as part of the job.
Within each of the steps you can see different actions: those executed through run, which are just commands, or those that use predefined actions, through uses. Several are used in this snippet:
- actions/checkout@master : allows you to get a copy of the repository source code to work on.
- actions/upload-artifact@v1: used to create artefacts based on files or directories specified in that action. They are normally used so that another job can download it and make use of it. This example generates an artefact with the result of the project compilation.
Finally, look at the second job:
This is going to be in charge of the deployment. For this to be possible, it will depend on the previous job,which generates the package to be deployed. The dependencies of other jobs are set with the needs property, where you can specify one or more jobs for which it must wait to be executed. If nothing is specified, both jobs would be executed in parallel, so the latter would fail as the artefact was not ready.
Here other actions than the previous ones that are used:
- actions/download-artifact@v1: allows you to download the artefact generated in the previous job.
- azure/login@v1: starts a session throughAzure CLI in your Microsoft Azure subscription, since in this example the deployment will be done in an App Service.
- azure/appservice-settings@v1: add values in the configuration of this Azure service (depends on the previous action, since you need to login before).
- azure/webapps-deploy@v1: carriesout the deployment. In this example I have commented on the possibility of doing the same using the publish-profile option. If you don't need the above task, which adds settings in the service, you can use the publish profile instead of Azure CLI.
These last two actions, in addition to using environment variables, are also making use of secrets: secrets.AZURE_CREDENTIALS_BLAZOR_RG and secrets.APP_SETTINGS_WEB_APP_WINDOWS.These are configured in the Settings section of the repository, in the Secrets section:

Once saved in this section, it will not be possible to view its content again.
Predefined actions for your workflows
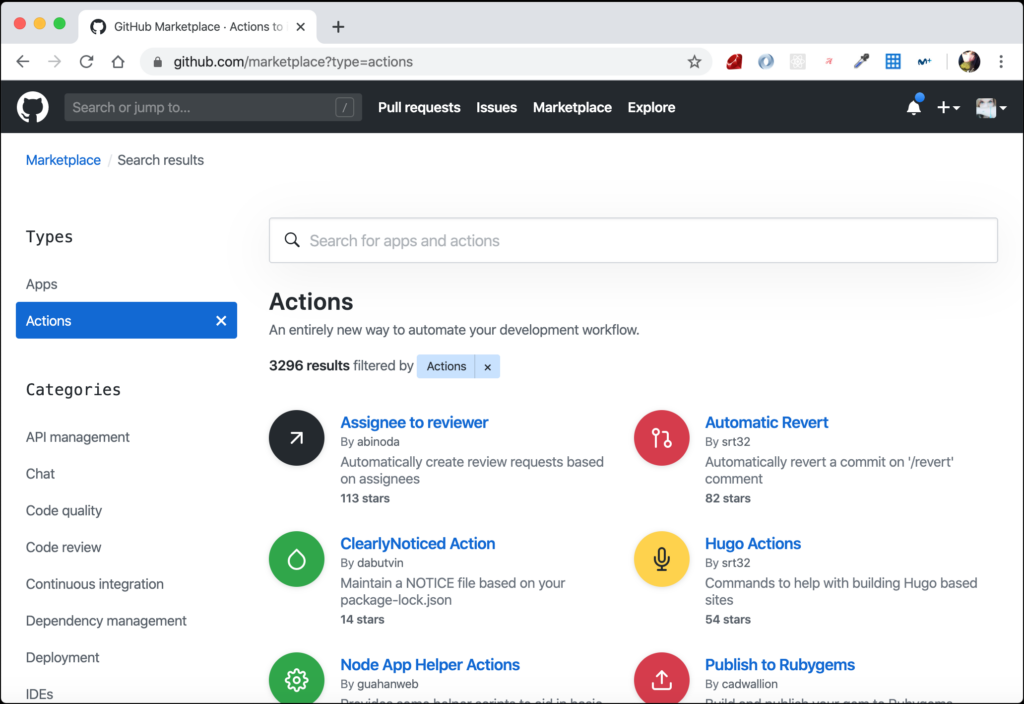
As you have seen in the example,the workflows are made up of jobs and these are made up of steps. Although you could define all the steps using scripting, there is a marketplace with more than 32,000 actions that you can use for your flows.


